What is Bracketing?
Bracketing, by definition, is a technique where a photographer takes shots of the same image using different camera settings. This gives the photographer multiple variations of the same image to choose from or combine to ensure that they get the perfect shot. This gives the photographer multiple variations of the same image to choose from or combine to ensure that they get the perfect shot. There are different types of bracketing in photography which you can find these explained here.
Exposure Bracketing
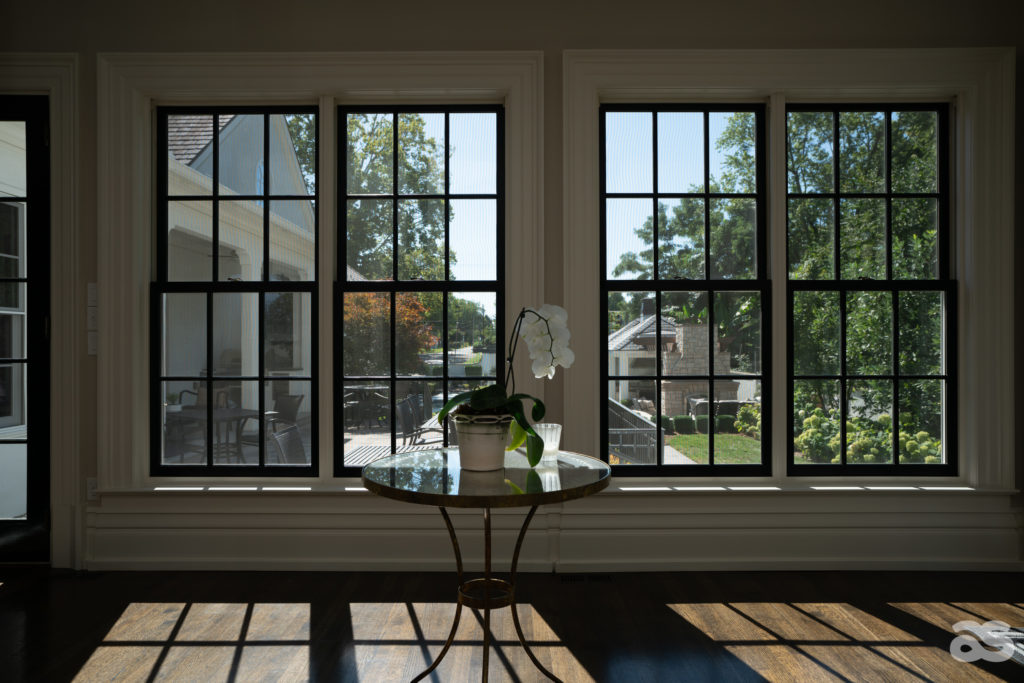
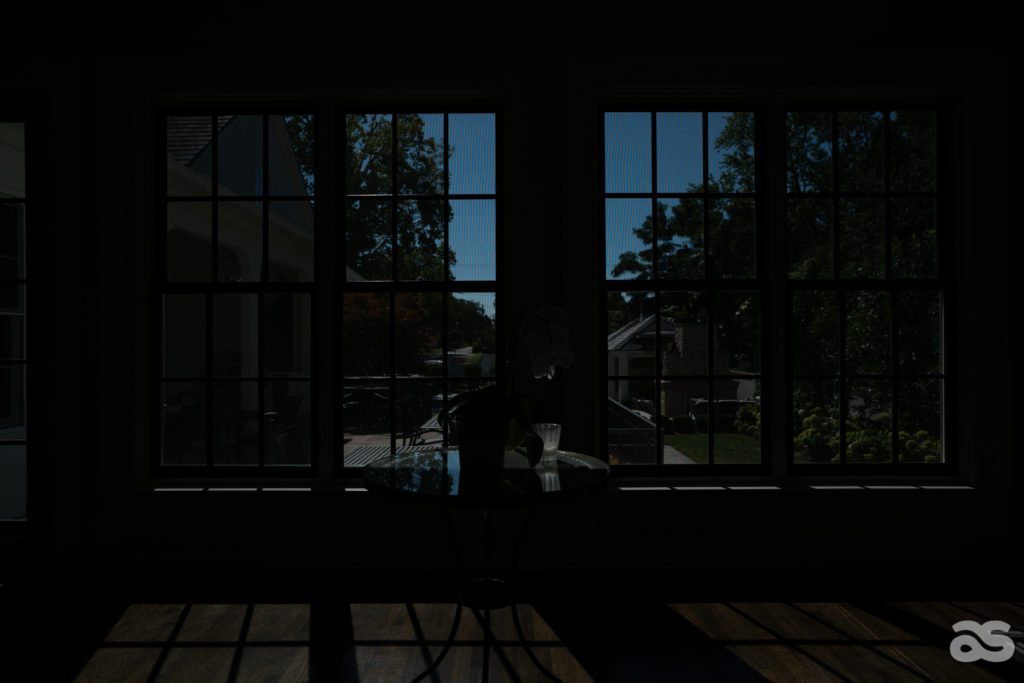
The most common type of bracketing is exposure bracketing, where the same shot is captured with at least three different exposures; normally one is correctly exposed, one slightly underexposed, and one slightly overexposed. Why would you do this? Say you’re photographing a mountain landscape. The grass would require one setting to be properly exposed, the mountains would require another and the sky yet another. This technique is utilized in many different scenarios. For real estate photography, this can be a game changer in taking your photos from good to great.
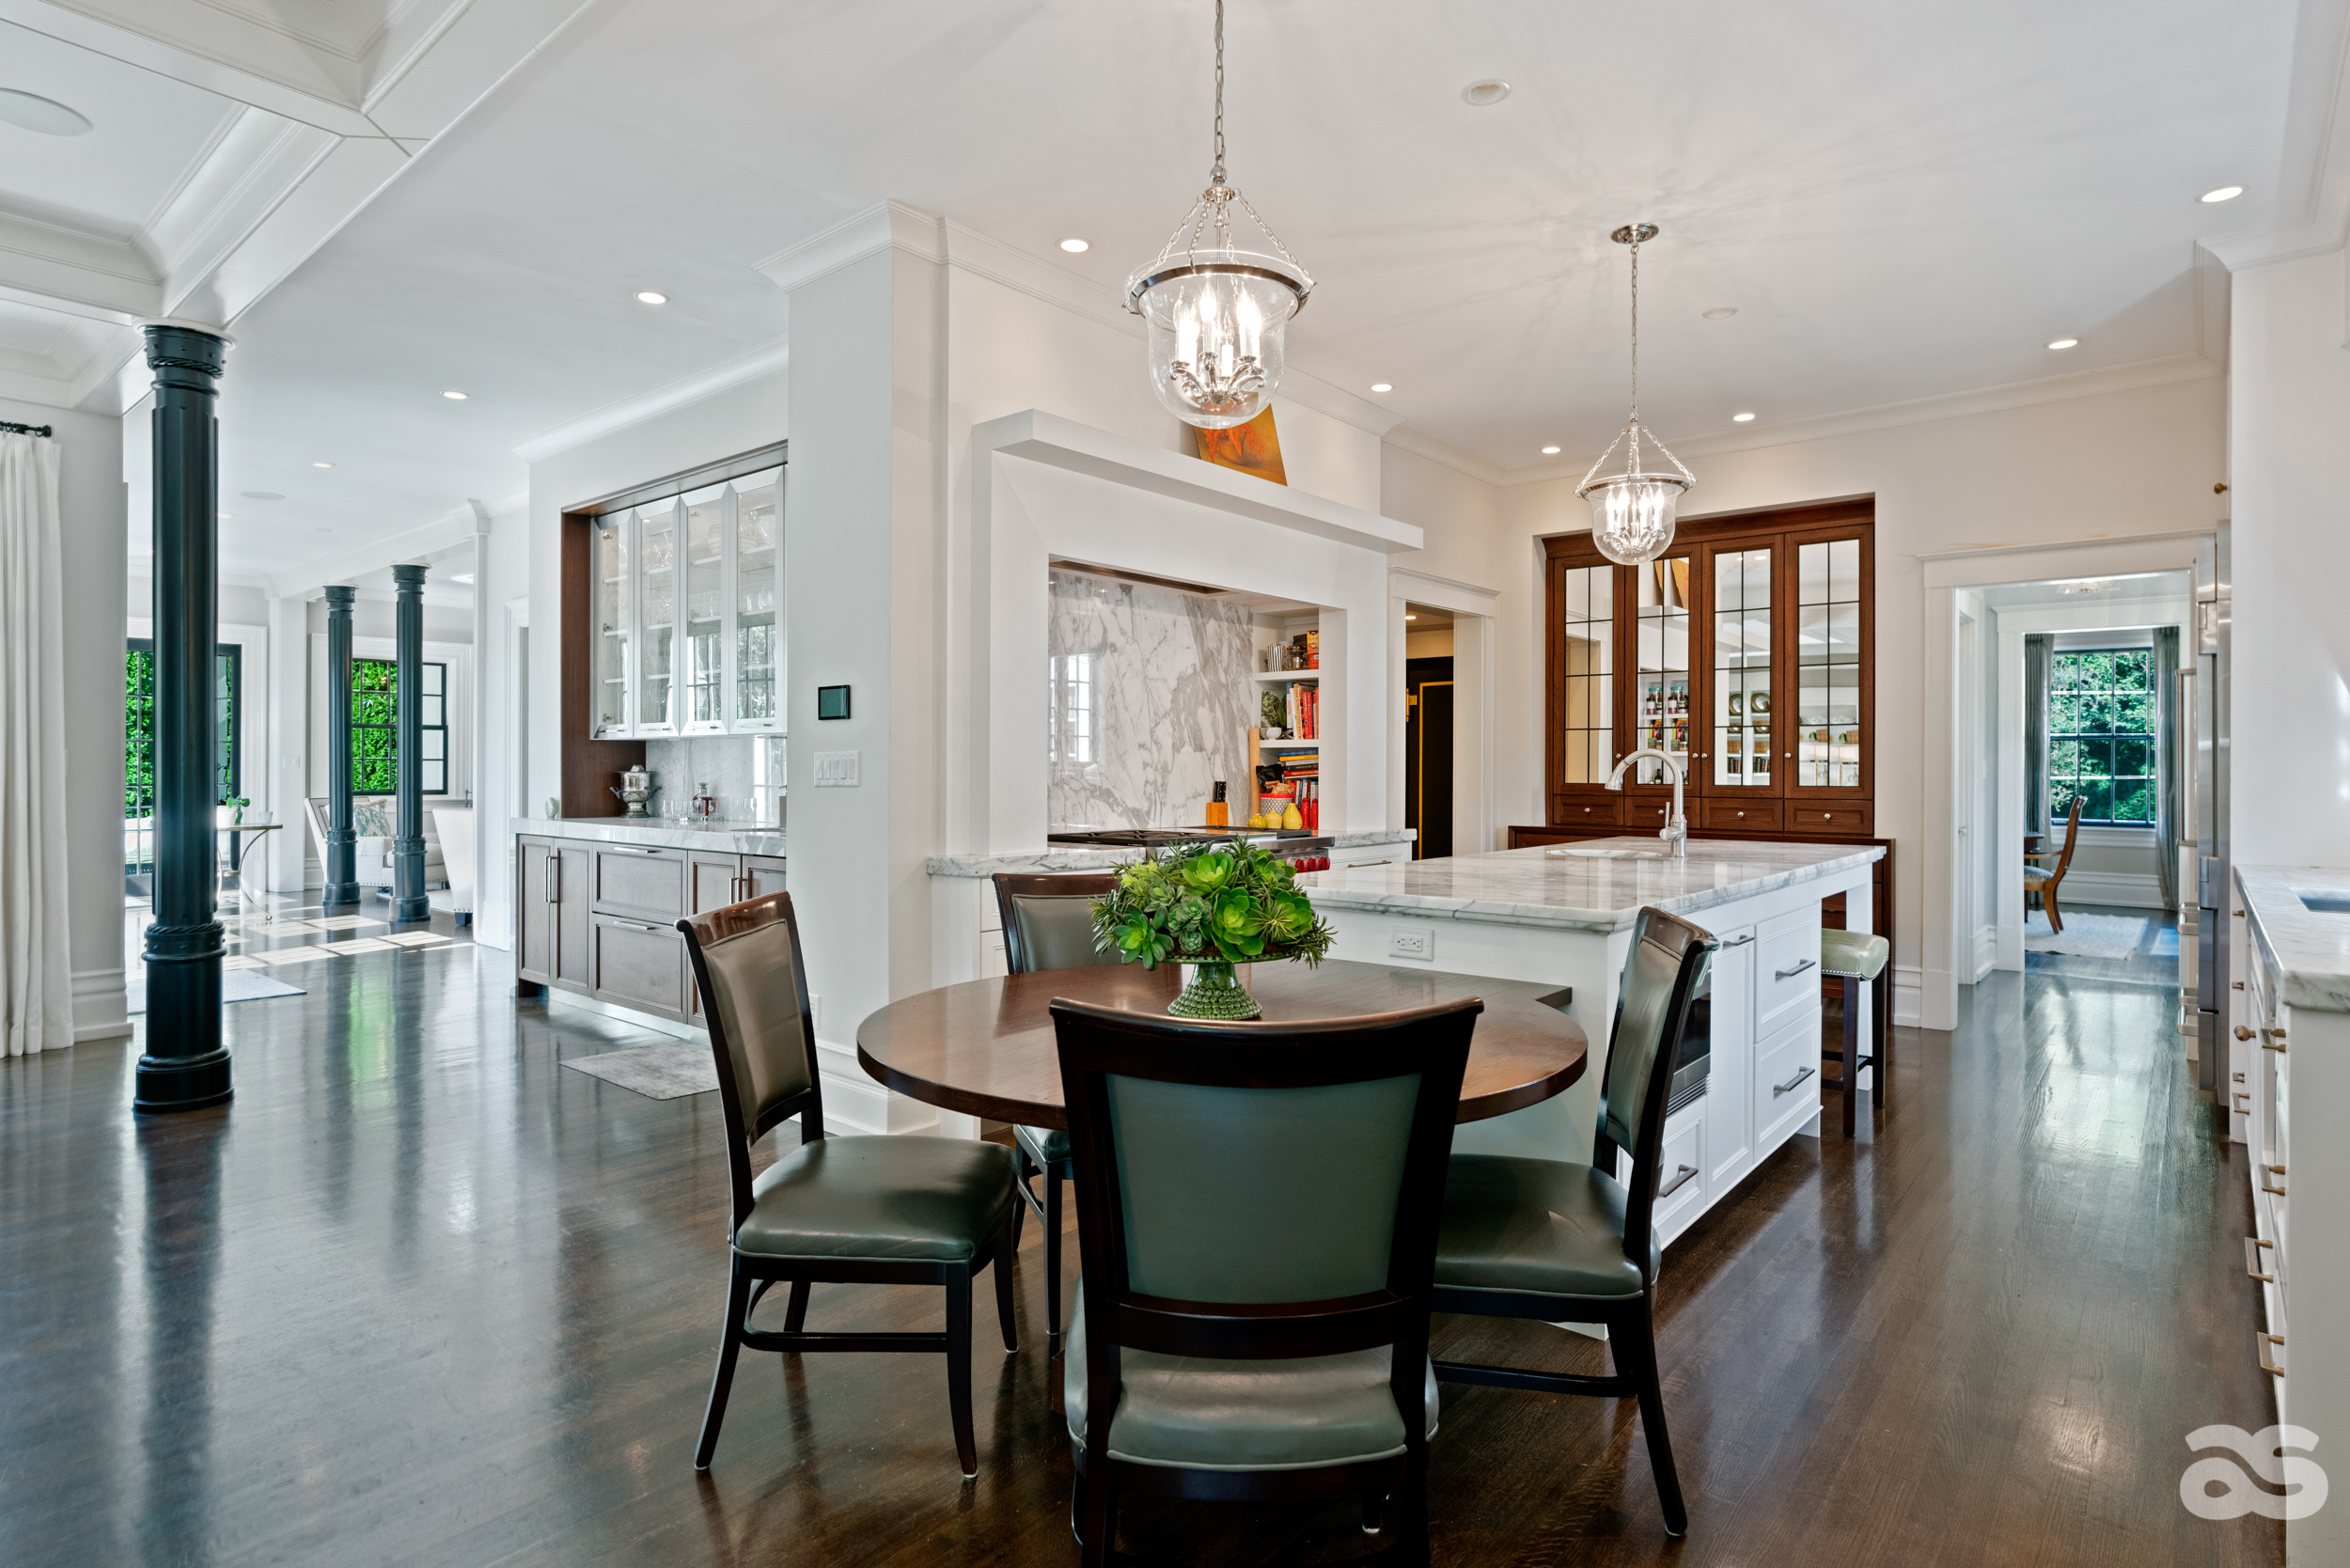
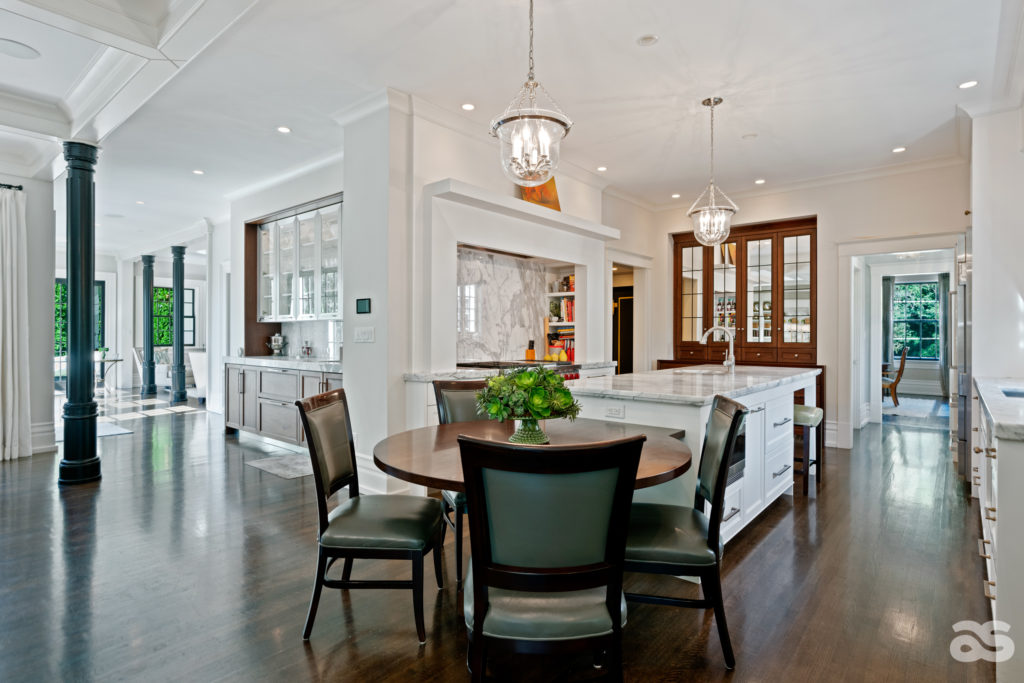
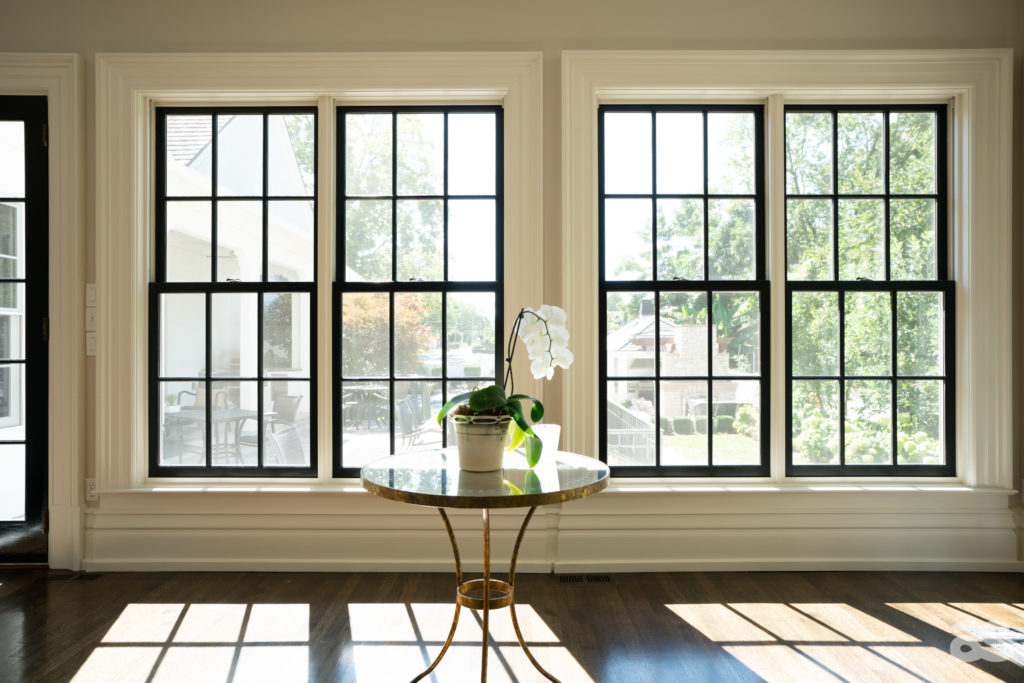
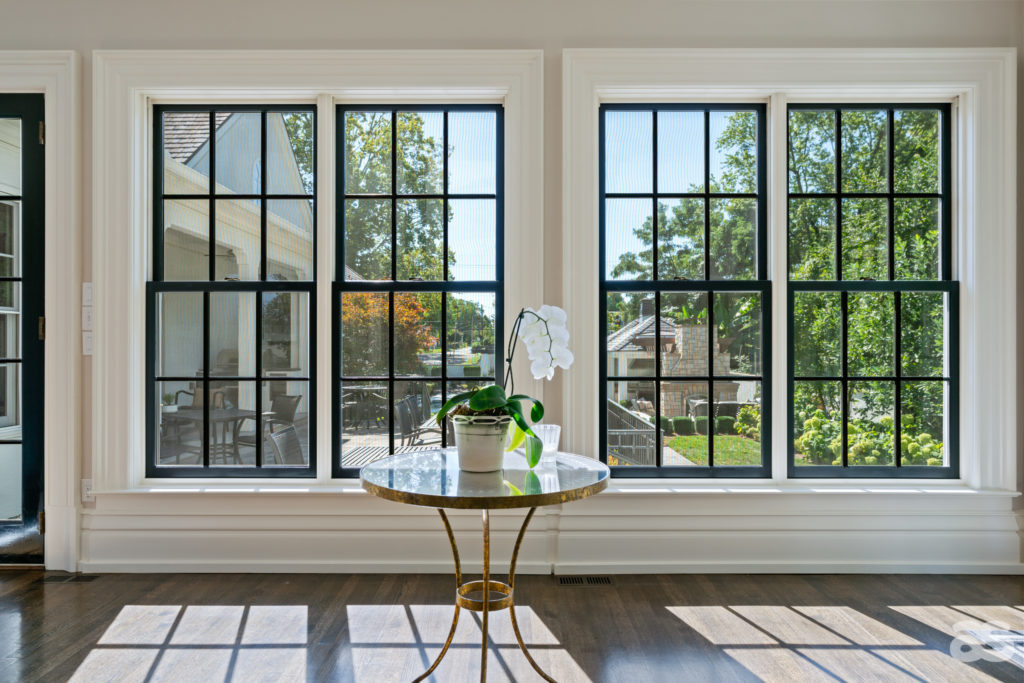
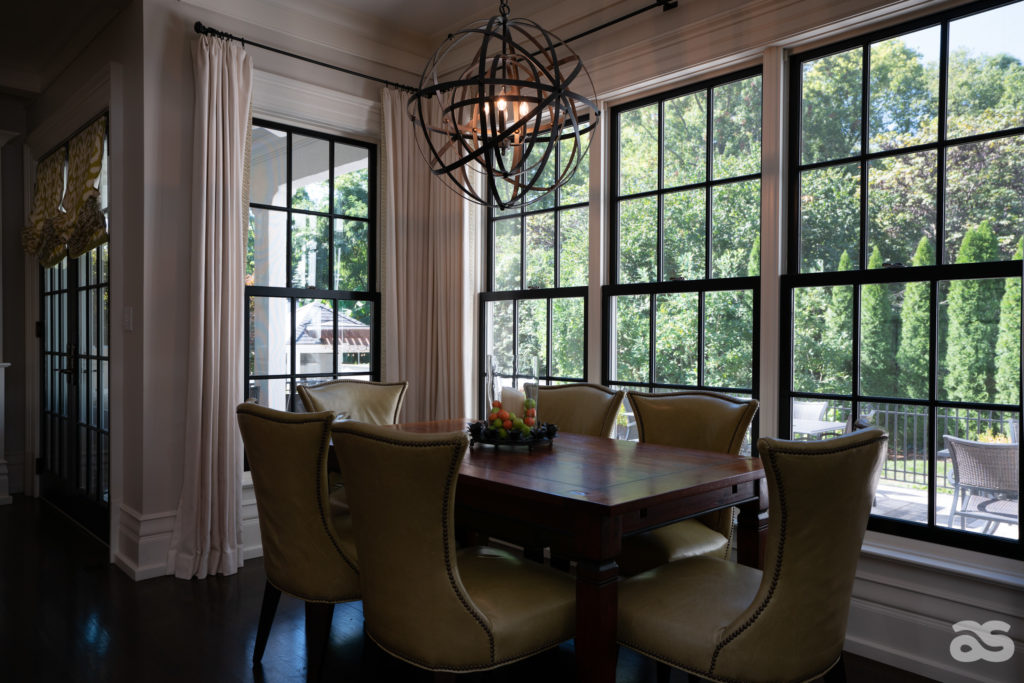
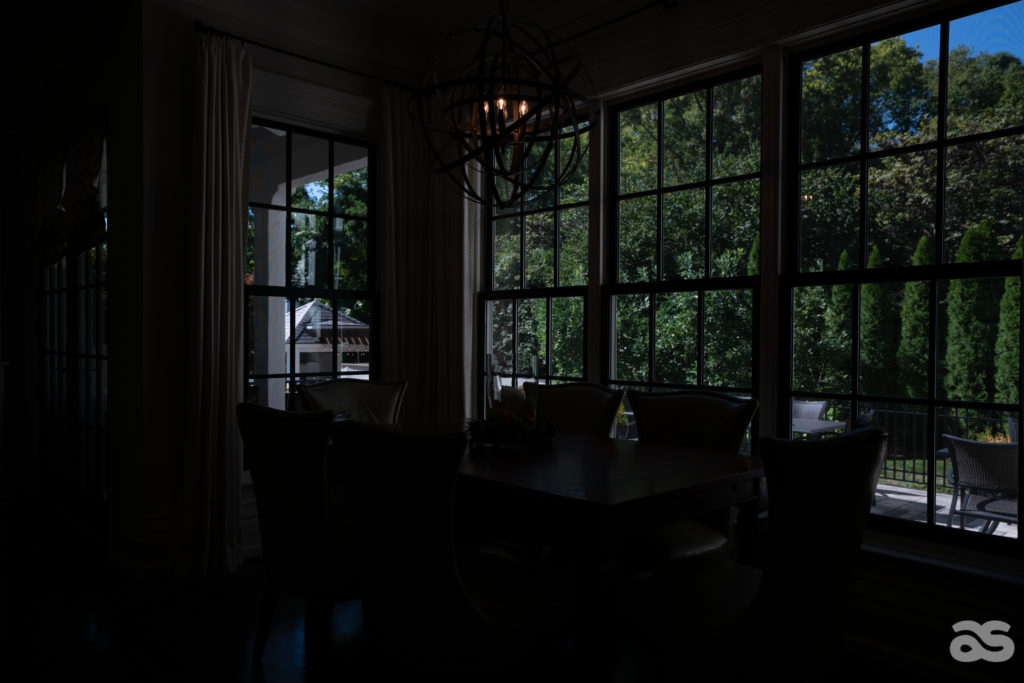
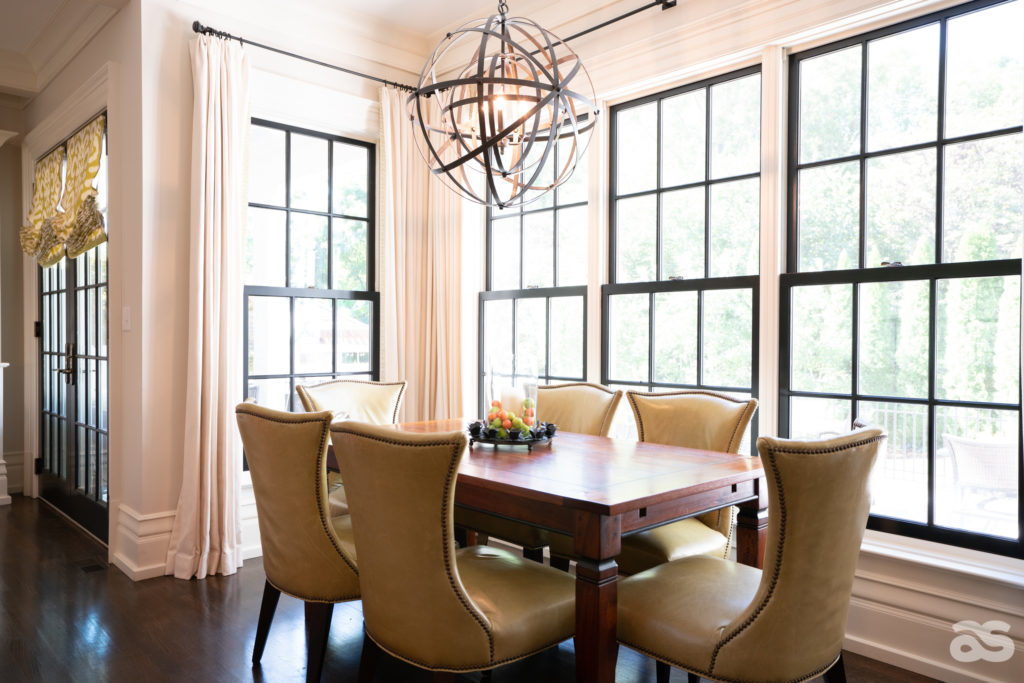
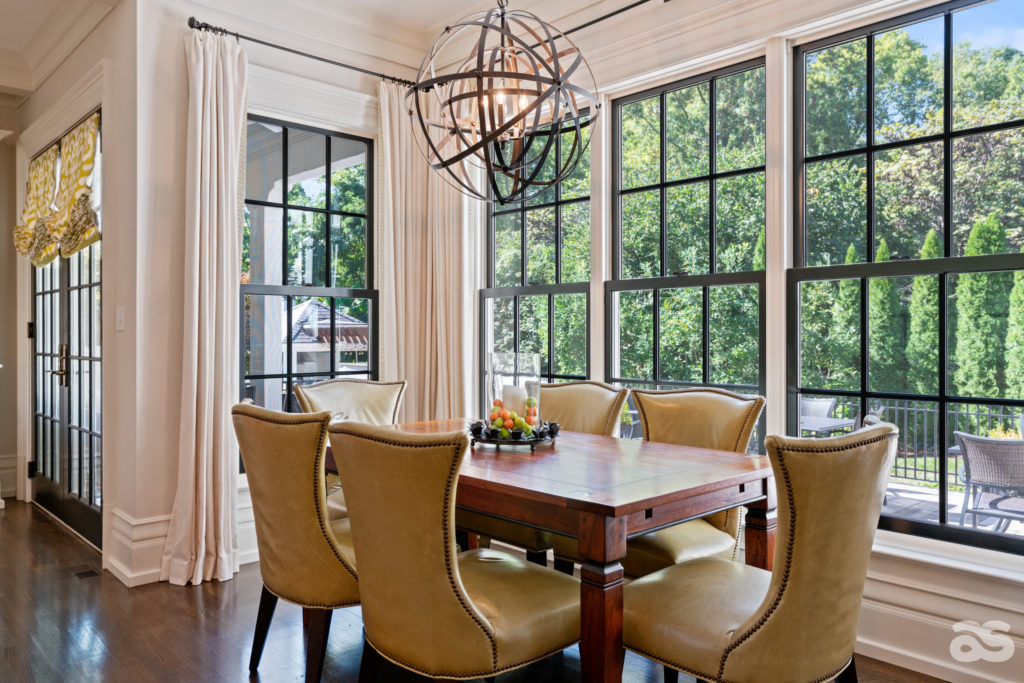
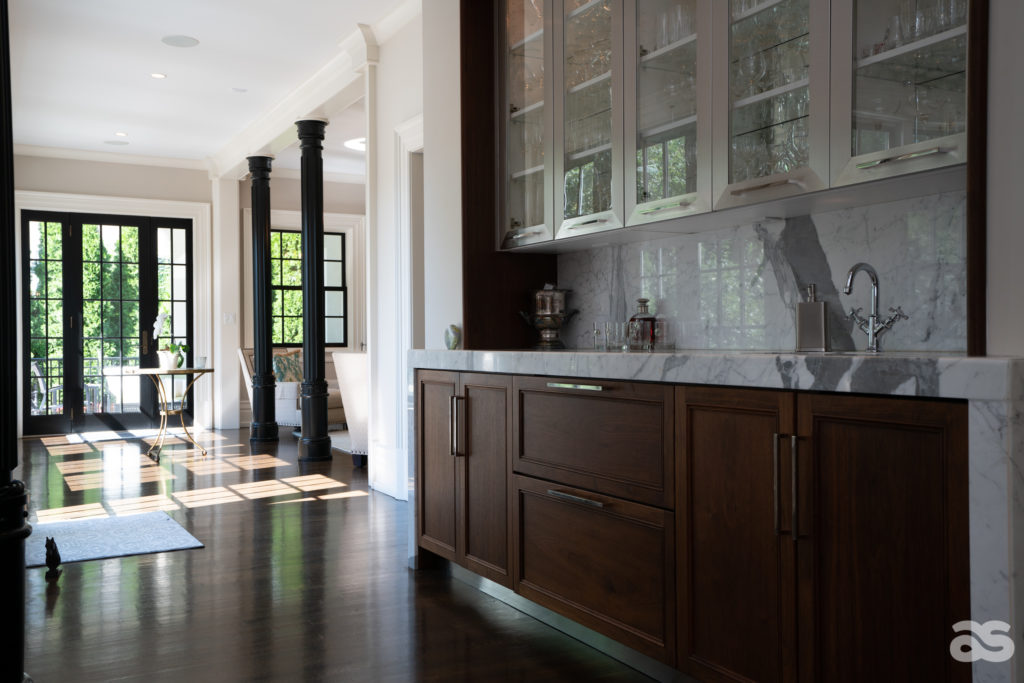
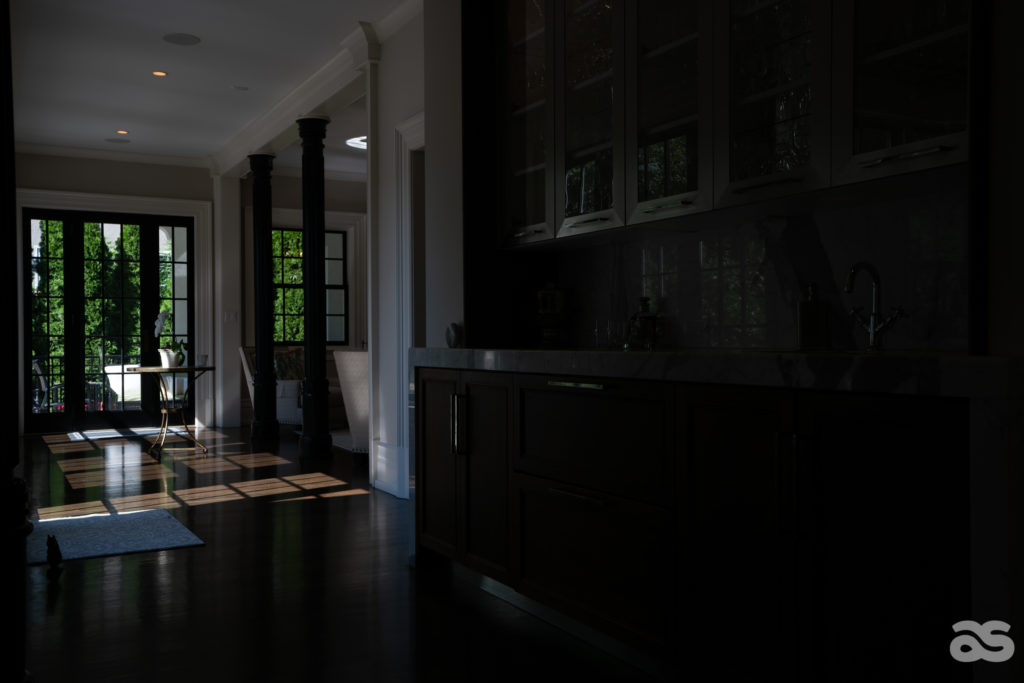
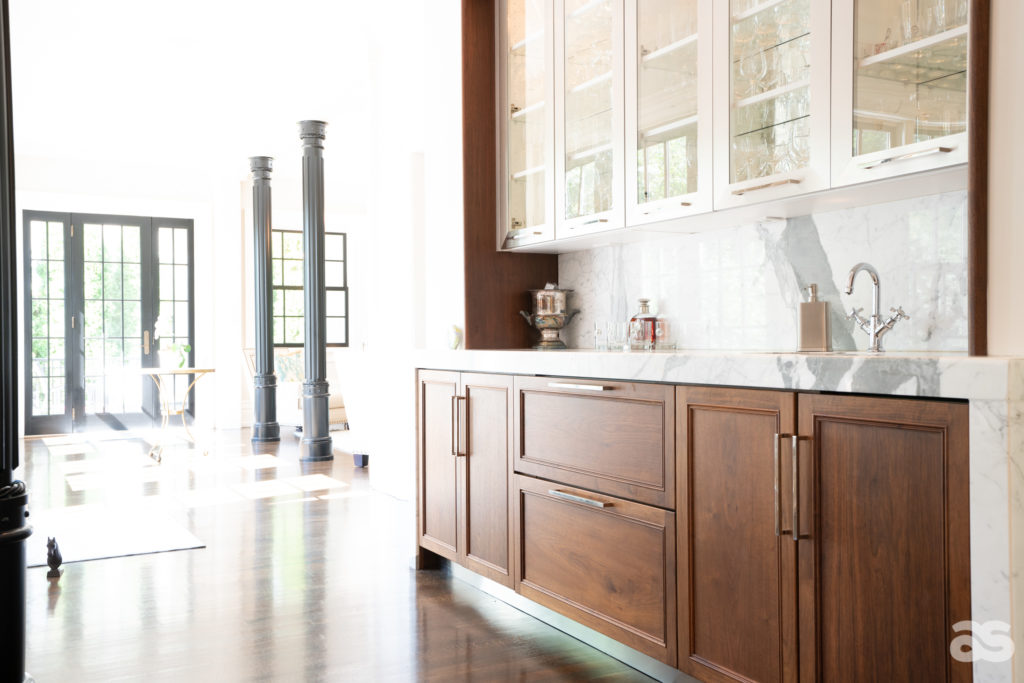
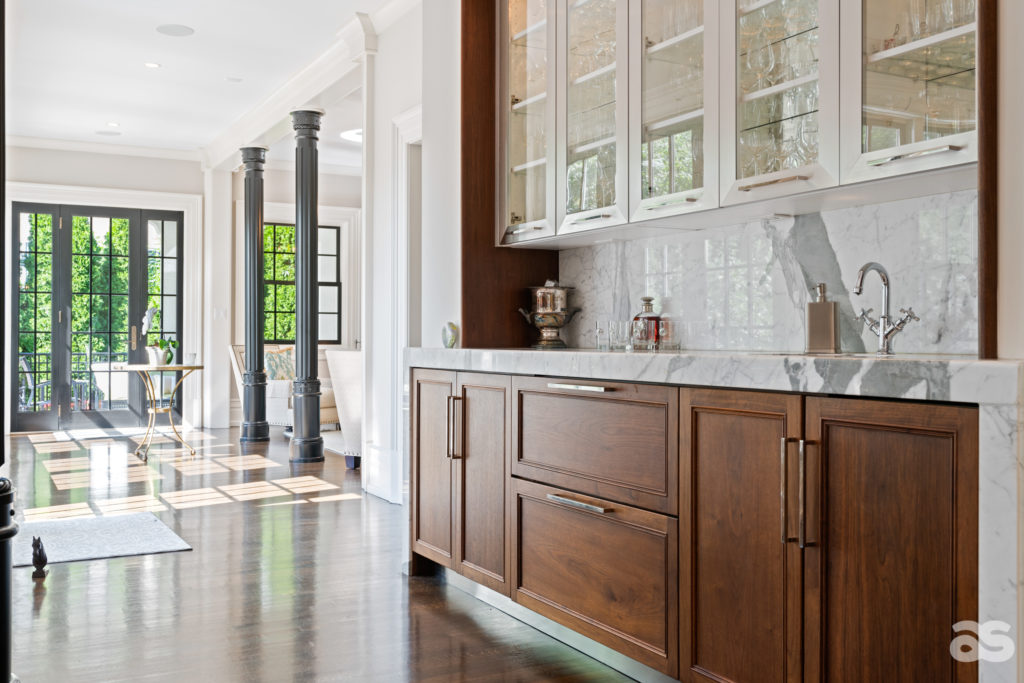
When photographing the interior of a home, you are attempting to capture each space in its best light. Unlike the human eye, cameras are unable to capture the great differences in lighting between very bright and very dark areas. A room lit by sunlight is dazzling, but will give a white sky and a dark foreground. This often can cause the focus to shift from the space itself over to the overly bright window. When utilizing exposure bracketing, it allows the viewer to feel as if they are right in the room looking at a space through their own eyes. The brightness of a property is one of the most important search criteria for buyers. It is therefore fundamental to be able to highlight the light of a property properly.
Below: Exposure Bracketing
Below: Final Photo
Below: Exposure Bracketing
Below: Final Photo
Below: Exposure Bracketing
Below: Final Photo
To see more examples, check out our work here at Aerial State Media.
How to Use Exposure Bracketing in Your Photography
If you would like to try exposure bracketing, here are a few manual and automatic options to get you started:
- Manually alter your camera’s shutter speed: This means you keep your camera’s aperture and ISO steady while you experiment with different shutter speeds. (Longer shutter speeds let in more light.) This is the most common way to create exposure bracketing.
- Manually alter your camera’s aperture: In this version of exposure bracketing, you keep your shutter speed and ISO constant but vary your aperture. This produces variety in your images’ depth of field.
- Manually alter your camera’s ISO: In a nutshell, the higher your camera’s ISO, the brighter your image will be. The downside to high ISO is that it can produce a grainy effect (called “noise” in the parlance of digital photography), so most professional photographers do what they can to keep their ISO as low as possible without creating overly dark photos.
- Use automatic exposure bracketing: In today’s market, many top DSLR cameras offer automatic exposure bracketing as a setting. In fact, many smartphones offer this function, often as part of an HDR mode. In auto-bracketing mode, the camera always provides three levels of exposure for a single shot. Automatic bracketing lets portrait photographers, landscape photographers, and abstract photographers all focus on capturing a single image without spending valuable time tweaking settings in their camera’s manual mode.
- Set shutter speed priority: This version of automatic exposure bracketing keeps shutter speed constant (you get to choose the speed) and automatically adjusts the aperture to create images with different exposures.
- Set aperture priority: This type of automatic exposure bracketing keeps the aperture fixed on a setting that you choose and automatically adjusts shutter speed to create a range of short and long exposure shots.
For a step by step on using exposure bracketing in real estate interiors, visit HD Estates.

