No matter how seasoned a photographer, mistakes happen. Like anything in life, we learn from those errors so we don’t repeat them the next time. When first starting out, a photographer is bound to make plenty of mistakes. The only way to get better and grow is to learn what TO do and what NOT to do. It is always a good idea to look to others that are further along in order to learn from their missteps but also their successes. The real estate photography business is just like any other; you must learn what problems you can avoid from the start. Doing so will make you stand out in the crowd. Check out Aerial State Media to gain some insight.
Let’s check out 5 common mistakes made in real estate photography and how to avoid them.
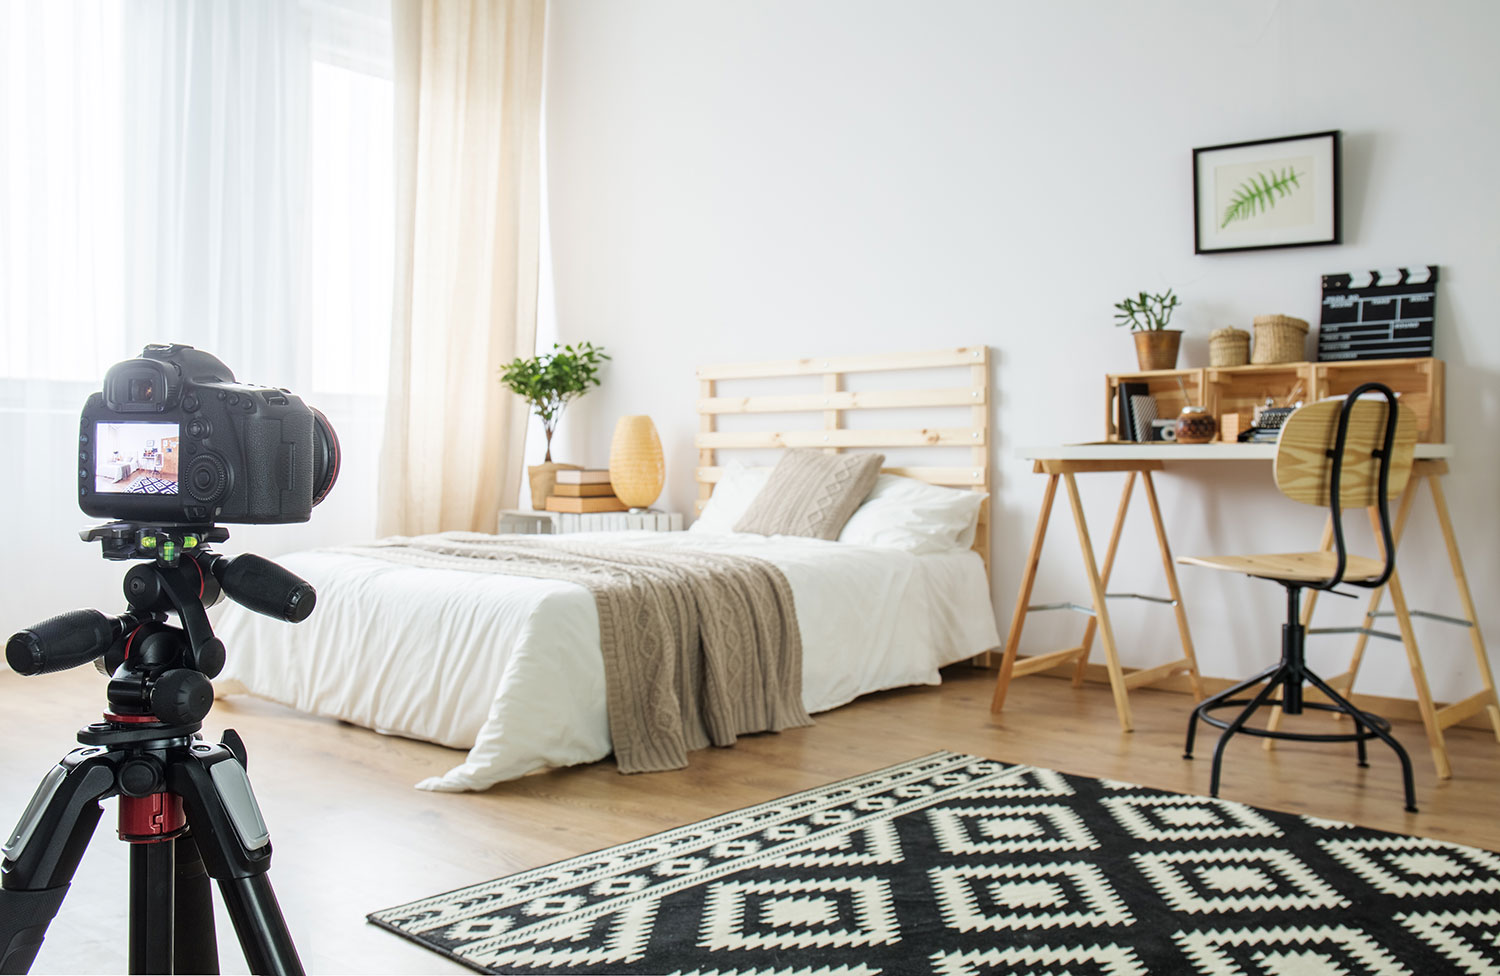
1: Closing All Blinds/Curtains
Let the light in! Real estate photos are meant to draw people into the property so making sure the room looks bright and full of sunshine will do just that. Folks that are looking at a photo of a space with closed curtains, they will feel a sense of cold and darkness. You want to let that natural light in as much as possible in order to fill the space indirectly. If needed, use a flash to fill shadows slightly but do not aim it directly into the room.
2: Keeping Interior Light Fixtures Off
Turning on all of the interior light fixtures in a home when photographing will allow your camera to pick up additional light. More specifically, light in sections of rooms or parts of homes that may not have enough natural light to provide. While you are generally going to be utilizing a speed lite or something similar, the extra illumination may come in handy (especially when editing). There are differing opinions on shooting with all the interior lights on versus off. Whatever you do decide to do, be aware of the differing light temperatures you will come across. Editing will allow you to balance them out and editing software such as Lightroom is a great tool; it will elevate your editing abilities and techniques to allow your work to truly stand out.
3: Not Educating Your Client on How to Prep Their Home
Make sure you are communicating with your client in regards to what needs to be done beforehand to make a home photo ready. Generally your client will be the real estate agent and they will need to then explain to their client, or the home owner, what needs to be done to prepare. You are not a magician. If the property is a mess when you arrive, the photos will be the same. Create a list of preparation suggestions that you can share with your clients to then provide to theirs. Includes things such as cleaning floors, making beds, clearing counters and tables, etc. Once you begin working with a real estate agent on a regular basis, they will relay this information to the home owner without a reminder.
4: Using A Fisheye
When it comes to the type of lens to use for listings, most think ‘wider is better’ . But you will quickly realize is that you want to avoid going too wide. Using a lens wider than 10mm on a cropped sensor camera or 16mm on a full sensor camera starts to get into the classification of fisheye lenses. Here’s our recommendations at bhphoto.com. This ultra-wide lens will create a lot more distortion and will make the space really difficult to see clearly. This degree of distortion will make it incredibly difficult to straighten out lines and correct lens distortion in editing. As with any recommendations, the best thing you can do is experiment on your own to find your ideal process. Research top work in your area which will also provide you some perspective on client expectations. It will show you things you want to do and things you want to avoid.
5: Crooked Lines
One of the quickest ways to really up your real estate photography game is by making sure all your lines are squared off. Your verticals need to be vertical and your horizontals need to be horizontal. While in Lightroom, you can use Lens Correction to let it automatically fix any lens distortion. Then after that, use the Transform section just below to straighten out lines for you. Oftentimes, you will still need to manually tweak the lines to truly have them all squared off. To minimize the amount of work in editing, do as much preparation as you can while in camera. Make sure you hold your camera as level as possible, use a tripod if needed, and also take advantage of the stabilize settings within your camera itself.
Conclusion
Starting out in any new photography niche will take time and patience as you navigate, make mistakes, and grow. However, talking to and learning from others on mistakes they have made will help you avoid some right from the start. The best thing you can do is research, test, and practice to see what works for you and what is best for your clients. And soon enough, you will be the sharing your craft and educating others.
![aerial state media [company overview + reviews] real estate bees](https://dev-rb-adlist-plugin.s3.amazonaws.com/badges/1594996402-bdgImg.png)